Home Renovation AI, Room by Room: Where It Nails It and Where It Whiffs
Key Takeaways
- Home renovation AI is not equally useful in every room. Kitchens and bathrooms get the most value, utility spaces get the least
- Rooms with lots of fixed surfaces (cabinets, tile, counters) render beautifully because the AI has strong edges to work with
- Cluttered rooms and tight spaces confuse the render. Clear the counters and shoot from the doorway
- The render answers style questions, not structural ones. It will never tell you if that wall is load bearing
- Use one render per room as the anchor image you hand to your contractor, not a folder of forty variations
Most articles about home renovation AI treat your house like one generic box. Snap photo, pick style, done. That has not been my experience walking clients through these tools on actual jobs.
Some rooms come back looking like a magazine spread. Others come back looking like the AI had a rough night. After 20 years of remodeling and a lot of phone-out-on-the-jobsite moments, I’ve got a decent read on which is which.
Why Some Rooms Render Better Than Others
Here’s the pattern I noticed early. The AI does its best work where there are hard, obvious surfaces to swap.
Cabinet faces. Countertops. Tile fields. Flooring planes. Backsplashes. These are big flat areas with clean boundaries, and that’s exactly what the model is good at recognizing and replacing. It knows where the cabinet ends and the wall begins, so it can put new doors on without smearing the whole picture.
Rooms that are mostly soft goods and odd angles are harder. Draped fabric, layered furniture, weird nooks under a staircase. The edges get fuzzy and so does the output.
Kitchens: The Best Room for This
If you only use home renovation AI in one room, make it the kitchen. It’s the highest-stakes room in the house financially, and it’s the room where the AI has the most to grab onto.
Cabinets, counters, backsplash, flooring, lighting. Five big decisions, all visible in one photo. A render lets a homeowner see all five choices working together instead of trying to imagine it from five separate samples sitting on the counter.
That’s the part people underestimate. Individual samples lie to you. A quartz slab that looks perfect in the showroom can fight with the cabinet color once it’s in the room.
Stand in the entrance to the kitchen and get as much of the run of cabinets in frame as you can. Corner shots and close-ups of a single cabinet give the AI almost nothing to work with. Wide and straight-on wins every time.
Bathrooms: Great, With One Warning
Bathrooms are the other strong performer. Tile, vanity, fixtures, and a tub or shower surround are all hard surfaces with clean lines.
The warning is scale. Bathrooms are small, and a wide phone lens in a small room distorts everything. The render will happily give you a gorgeous 60 inch double vanity in a space that physically fits a 36.
Measure before you fall in love. I’ve had clients show up to a consult with a render of a freestanding soaking tub in a bathroom that has 54 inches of clear floor. That tub was never happening.
Home renovation AI works from pixels, not a tape measure. Before you commit to any fixture you saw in a render, pull the actual dimensions and chalk it on your floor. Takes five minutes and saves a lot of grief.
Living Rooms and Bedrooms: Good for Mood, Not for Plans
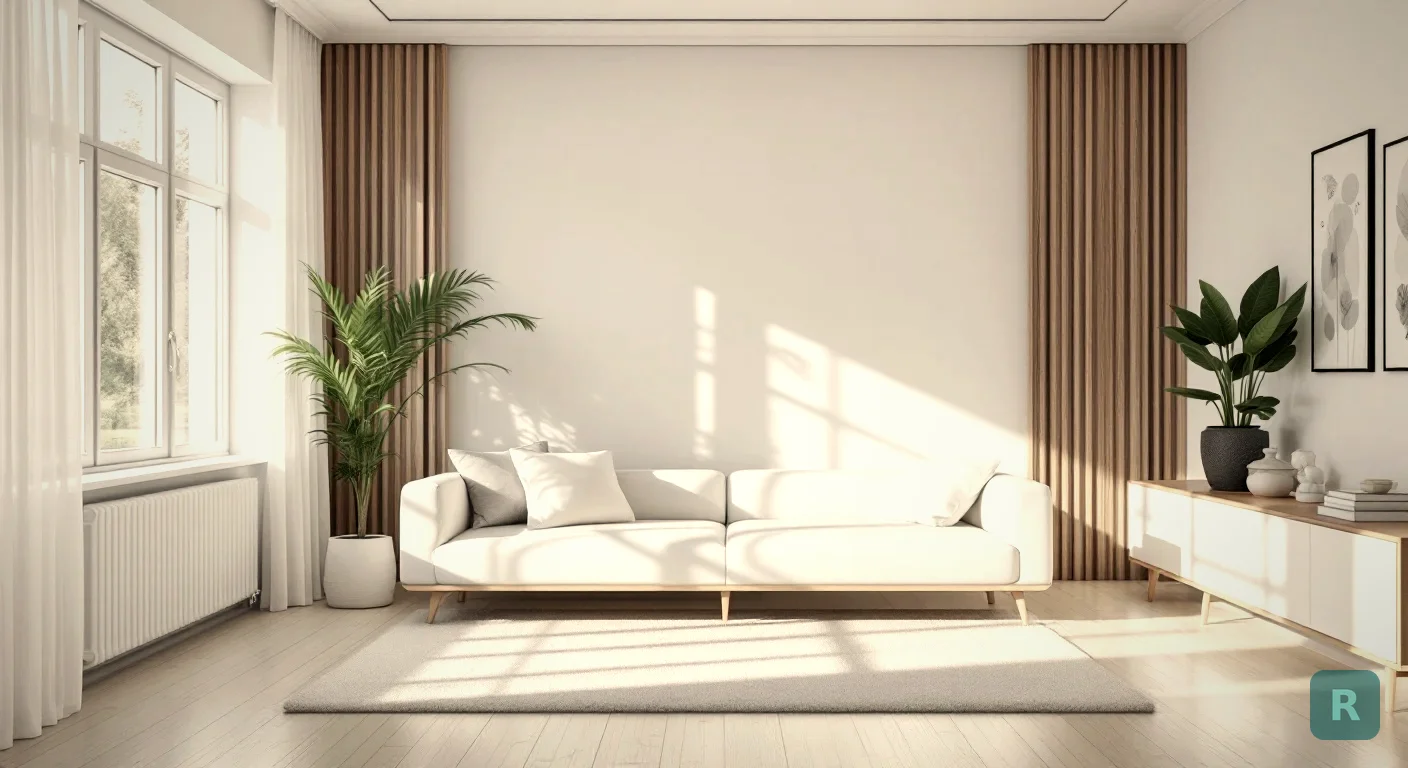
These rooms render fine, but what you get back is closer to a mood board than a remodel plan. Paint, flooring, and furniture style all change convincingly.
That’s genuinely useful if you’re trying to decide between warm and cool tones, or figure out whether a darker floor makes the room feel cozy or cave-like. It’s not useful for anything structural.
Here’s where it helps most. Couples who describe the same room in totally different words. One says “modern,” the other says “modern,” and they mean completely opposite things. Two renders settle that argument in about four minutes.
Where Home Renovation AI Falls Flat
Not every room is worth the effort. Some are actively frustrating.
- Laundry rooms and utility spaces. Too much equipment, too little surface. The render usually just recolors the walls
- Garages. Open shelving, tools, vehicles, exposed framing. The AI has no idea what’s structure and what’s stuff
- Hallways and stairs. Awkward geometry and no single good camera angle
- Unfinished basements. Nothing for the model to anchor to, so it invents a room that isn’t yours
- Rooms mid-demo. If the walls are already open, you’re past the point where a render helps
Save your time. Use these tools where there’s a real decision on the line.
| Room | Render Quality | Best Use |
|---|---|---|
| Kitchen | Excellent | Cabinet, counter, and backsplash combos |
| Bathroom | Excellent | Tile and vanity pairing |
| Living room | Good | Paint and flooring tone |
| Bedroom | Good | Overall style direction |
| Exterior | Fair | Siding and trim color |
| Garage or utility | Poor | Skip it |
Getting a Photo the AI Can Actually Use
The single biggest quality difference isn’t the tool. It’s your input photo. I’ve watched the same room produce a great render and a garbage one depending entirely on how it was shot.
Clear the counters. Every appliance, every stack of mail, every dish rack. Clutter reads as permanent geometry to the model, so it tries to preserve your toaster instead of redesigning your kitchen.
Then open the blinds. Natural light beats overhead light. Mixed lighting, half daylight and half warm bulb, gives you renders with color casts that make it hard to judge anything.
- Clear all countertops and floors of loose items
- Open curtains and blinds, turn off mismatched overhead lights
- Stand in the doorway and shoot the widest useful angle
- Hold the phone level, not tilted up or down
- Take three shots from three positions so you have options
If you want to see what a clean input produces before you try it on your own room, the gallery has before and after sliders on real spaces.
How I’d Actually Work Through a Whole House
Doing every room at once is how people end up with sixty renders and no decisions. Go in order of money spent.
Biggest budget, biggest visual impact. Render three styles, pick one, stop.
Whatever wood tone and metal finish you land on becomes the rule for the rest of the house.
Carry the same finishes through so the house reads as one project, not four.
These are mostly paint and flooring, which are the cheapest things to change your mind about.
One. Not a folder. A single clear target per room is what a bid can actually be built around.
If you’re not sure which direction fits your house, the styles page walks through all eleven with real examples.
What Your Contractor Wants From These Renders
I’ll be straight about this since I’m on the receiving end. A render helps me enormously when it’s used right and wastes my time when it isn’t.
What helps: one image per room that shows me the finish level you’re after. I can look at that and understand whether we’re talking painted shaker or full custom, and I can bid it accurately.
What doesn’t help: forty images, no priorities, and an expectation that I’ll match the render pixel for pixel. The AI doesn’t know what your subfloor looks like, what’s behind that wall, or what your local code requires. I do, and sometimes reality trims the render.
Good, fast, or cheap. Pick two. That hasn’t changed because we have better pictures now.
Your Room-by-Room Action Plan
- Pick the one room you’re actually spending money on this year. Just one
- Clear it out and shoot three wide photos from the doorway in daylight
- Run three different styles and see which one you keep coming back to
- Measure the fixtures you liked in the render against your real floor space
- Repeat for bathrooms, carrying the same finishes forward
- Bring one render per room to your contractor, plus your real budget with 15 to 20 percent held back for surprises
- Ask what in the render is going to be hard or expensive in your specific house, and listen to the answer
See what your kitchen could look like before you spend a dollar on demo. Download ReVision AI and try 3 free transformations.
Get Design Inspiration Weekly
Fresh room makeover ideas, renovation tips, and style guides delivered to your inbox.
Design tips and inspiration only. Unsubscribe anytime.
Related Articles
AI Remodel App Free: How to Judge One Before You Download
Want an AI remodel app free of charge? Here's how I judge them, how to shoot the room photo right, and what free render credits are actually good for.
7 min readThe Best Free House Remodel App: What to Look For Before You Download
Hunting for a free house remodel app? Here's what actually helps, what's just a demo, and how to test your real room in any style before you spend a dime.
8 min readThe Best Free Home Remodeling App: What Actually Works Without Paying
Looking for a free home remodeling app that shows real results? Here is what the free tools do well, where they fall short, and how to get real value.
8 min read