AI Furniture Layout: Test the Whole Room, Then Check the Clearances
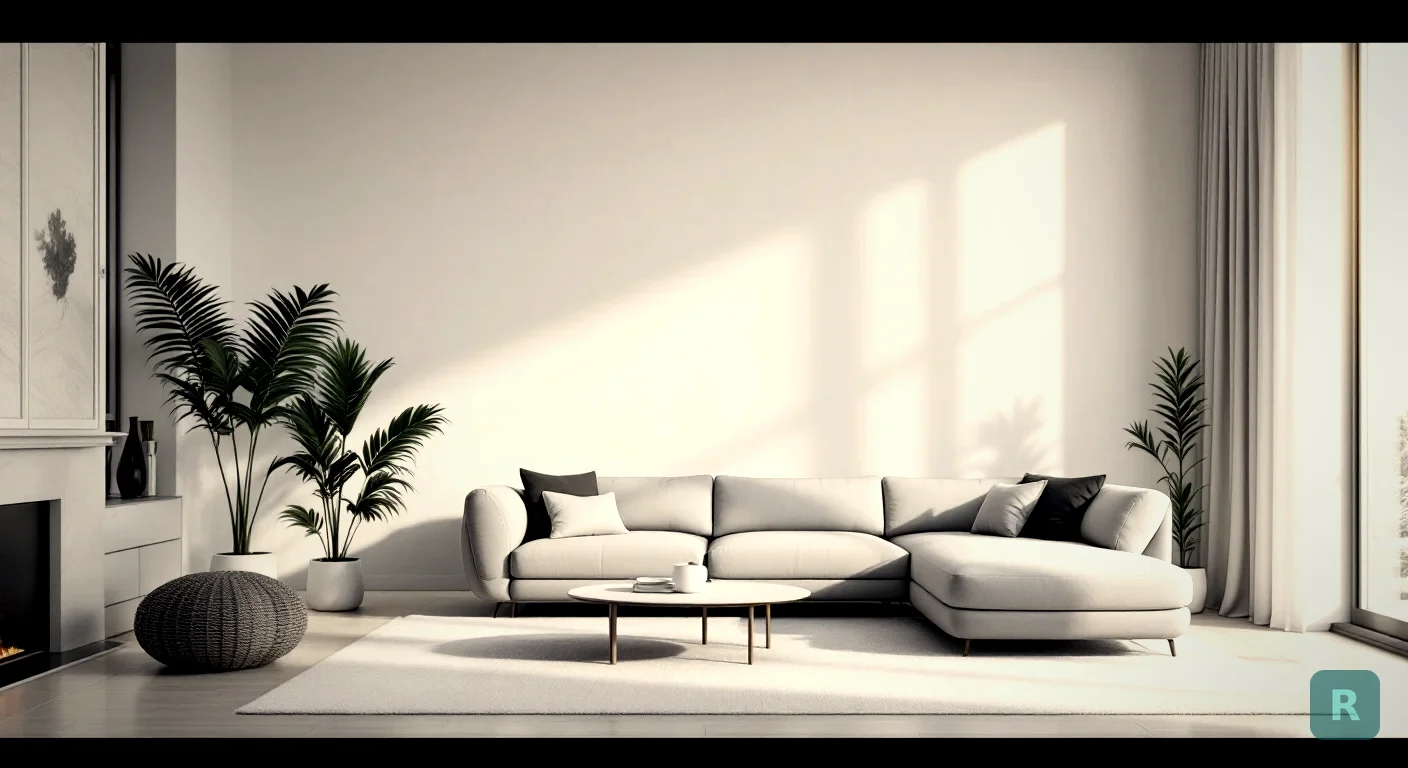
A layout is not a furniture list. It is the space between the furniture.
I have walked into finished living rooms that looked incredible in photos and felt terrible to stand in, because somebody centered a sectional on the fireplace and left twenty inches to squeeze past the coffee table. Every guest turns sideways. Nobody knows why the room feels off, they just stop using it.
AI furniture layout tools are very good at showing you arrangements and very bad at telling you whether you can walk through one. So use them for the first part, and use a tape measure for the second.
Key Takeaways
- AI layout tools rearrange a whole room from one photo, so you can compare five arrangements in the time it takes to slide a couch once
- The AI renders what looks balanced, not what meets real walkway clearances
- Main traffic paths need 36 inches, and that single number kills more layouts than any other
- Screenshot every version you generate, then measure the walkways against your actual room before you buy anything
- Layout comes first, style second, because a beautiful room with a blocked path is still a bad room
What “Layout” Means That “Placement” Does Not
Placement is about one piece. Will this sectional fit on that wall, does the bed clear the closet door, that kind of question. I wrote about that separately in AI furniture placement, and it is a different job than this one.
Layout is the whole arrangement at once. Where does the room point, how do people move through it, what do you see when you walk in the door.
Change one piece and the whole thing re-shuffles. That is why layout is the harder problem and why it is the one worth generating a dozen times.
How AI Layout Tools Actually Work
You take a photo of the room as it stands today. Furniture, clutter, bad lighting, all of it. The AI reads the geometry of the space, the window and door positions, the ceiling line, and rebuilds the room with a different arrangement in it.
Stand in the main entrance to the room, back against the wall, phone horizontal at chest height. This is the view that decides whether a layout feels right, because it is the view everyone gets first.
Do not stop at the first one you like. Run the same photo through three or four styles and let the tool move things around differently each time.
Save them side by side in one album. Comparing two images beats trying to remember what the third one looked like.
Tape the footprint of the big pieces on the floor with painter's tape and walk the paths. Five minutes here saves a restocking fee.
That last step is the one people skip, and it is the only one that costs nothing.
The Clearance Numbers I Check Every Time
These are the working dimensions I have used on jobsites for twenty years. They are not decorating opinions. They come from how bodies actually move through rooms, and they are the difference between a layout that photographs well and one that lives well.
| Path or gap | Tight but workable | What I aim for |
|---|---|---|
| Main traffic path through a room | 30 in | 36 in |
| Secondary path behind seating | 24 in | 30 in |
| Sofa to coffee table | 14 in | 16 to 18 in |
| Behind a dining chair, pulled out | 32 in | 36 to 44 in |
| Beside a bed, walking side | 24 in | 30 in |
| Kitchen aisle, one cook | 36 in | 42 in |
| Kitchen aisle, two cooks | 42 in | 48 in |
Run any AI-generated layout against that table and a lot of pretty pictures fall out immediately.
An AI image shows doors closed almost every time. Before you commit to a layout, open every door, cabinet, and drawer in the room and mark where the leading edge lands. A dresser that clears the wall by two inches still loses to a closet door that swings into it.
Why Layouts Fail in Real Rooms
Almost every bad layout I have torn apart came from one of four things.
- Floating everything. Pulling furniture off the walls is good advice until the room is eleven feet wide and now nothing has a path around it.
- Two focal points fighting. A fireplace on one wall and a TV on the other means every seat compromises. Pick one, build around it, put the other where it does not compete.
- Rugs sized by price instead of plan. A rug that only catches the front legs of nothing is the most common mistake in American living rooms. Front legs on, at minimum.
- Forgetting where the outlets are. The AI does not know. You do. A floor lamp in the middle of a walkway means a cord across the walkway.
Where This Saves Real Money
The furniture is not the expensive part of getting a layout wrong. The rework is.
I have had clients ask me to move a doorway after the flooring was down because the sectional they had already bought would not clear it. That is a framing change, a drywall patch, trim, paint, and a floor seam, all because of a decision that could have been tested on a phone for free.
Layout mistakes get expensive when they turn into construction. Moving an outlet is cheap during rough-in and painful after paint. Repositioning a light fixture is a twenty dollar box and an hour before the ceiling closes up, and a real repair afterward.
If you are mid-remodel, lock your layout before the electrician does rough-in. Print the arrangement you picked, mark where every lamp, TV, and side table lands, and hand it to your electrician. Outlets in the right spots cost nothing extra at that stage.
Layout First, Style Second
Here is the order I give every client. Get the arrangement right, then decide what the room looks like.
Style is reversible. You can repaint, swap a rug, change hardware. Layout is what determines whether the room actually works, and it is the part homeowners decide last and regret most.
Once the plan holds up, run the same photo through different design styles and see which one you actually want to live in. That is the fun part, and there are eleven of them to try in the styles gallery.
What These Tools Still Cannot Do
Be straight about the limits, because overselling this stuff is how people get burned.
- It does not know your ceiling height, so a render can suggest a piece that is proportionally wrong for an eight-foot ceiling
- It does not know what is inside the walls, and I have moved plenty of plans because a plumbing stack was where the vanity wanted to be
- It does not measure, so every dimension in this post still comes off a tape in your hand
- It does not know your habits, whether the dog sleeps by the door or the kids drop backpacks in the entry
None of that makes it useless. It makes it a starting point that used to cost a design consultation, and it gets you to a real conversation with a contractor holding pictures instead of adjectives.
Want to see what the finished version of your room could look like before you move anything? Try it free with ReVision AI and run three transformations on the room you are stuck on. If you want to see how the before and after comparison works first, the gallery has real rooms.
Your Next Steps
- Clear the floor of the room, then shoot one photo from the main doorway with the phone horizontal
- Generate at least four different arrangements and screenshot every one worth a second look
- Pick your top two and check them against the clearance table above, especially the 36 inch main path
- Tape the footprint of the largest piece on the floor and walk the room for five minutes
- Open every door and drawer to confirm nothing collides
- Note where you need power and lighting, and get that to your electrician before rough-in
- Lock the layout, then run the photo through design styles to pick the look
- One clean photo from the main doorway
- Four or more generated arrangements compared side by side
- Every walkway measured, not eyeballed
- Door and drawer swings confirmed
- Outlet and lighting positions marked before drywall
If you are earlier in the process and still deciding what pieces to buy at all, start with AI furniture design and come back here once you know what is going in the room.
Get Design Inspiration Weekly
Fresh room makeover ideas, renovation tips, and style guides delivered to your inbox.
Design tips and inspiration only. Unsubscribe anytime.
Related Articles
Paint AI App: How to Pick One and Actually Use It on a Real Room
A paint AI app shows new wall colors in your own room before you buy a gallon. Here's how I pick one and use it on real jobs as a contractor.
7 min readAI Powered Interior Design: How It Actually Works and Where It Helps
AI powered interior design lets you see your real room in any style before spending a dime. Here's how it works, where it shines, and where it falls short.
8 min readAI Dorm Room Design: Plan a Space You're Not Allowed to Change
AI dorm room design lets you test layouts and styles from one phone photo, before move-in day. Here's how to plan a small rented room you can't renovate.
8 min read